Plantation of VNR Madhur Plants is one of the most important activities. Farmer needs to have complete understanding about package of practice to be followed during this process, needs to be extra cautious and be well informed.
Time for Plantation: It depends upon the availability of water and weather condition prevailing in your region. Plantation should be avoided during extreme hot months and during severe cold temperature. However, if copious water and irrigation source is ensured than plantation can be undertaken during summer season too. Plants are in dormancy during winters.
Step of plantation
Step #1: Carrying Plants to Field
Step #2: Pit digging
Step #3: Polythene tearing (not cutting)
Step #4: Placement of plant in pit
Step #5: Soil Filling
Step #6: Soil Levelling & Earthing up
Step #7: Watering
Step #1: Carrying Plants to Field
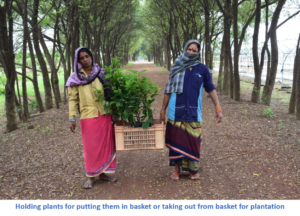
SAFETY of graft/bud union is of prime concern while transferring plants from storage area to field where it needs to be planted. Use of plastic crates/bamboo baskets is highly recommended while carrying plants. One needs to ensure that plants are kept vertically erect and straight during this last & final lag of transfer. Plants are not to be loaded one above the other as it may damage the plants and specifically, graft/bud union.
Recommended and correct way of transferring the plants to the field
Holding Plants for putting them in basket or taking out from basket for plantation
Never hold or carry the plant from its stem as it may damage or break the graft/bud union. The safest way to carry or hold the plant is always from its bottom portion i.e. poly bag.
Step #2: Pit digging
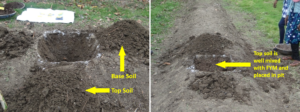
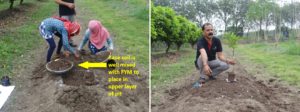
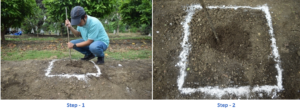
Pit digging with size matrix of 2x2x2 with application of FYM and basal dosages is an essential activity before plantation of VNR Madhur Guava Plants.
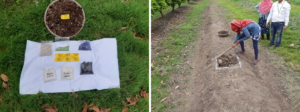
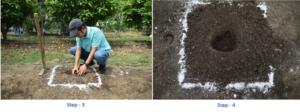
At the time of plantation a smaller pit equivalent to the size of poly bag is to be dig as under:
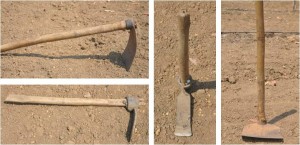
Tools for Pit digging
Depth of pit prepared for transplantation should not be more than 10-12 inches or equivalent to height of poly bags.
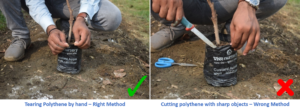
Step #3: Polythene tearing (not cutting)
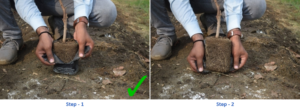
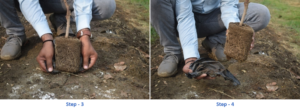
Before plants needs to be planted in the pit, it’s required to remove polythene cover/bag. Farmers are advised to remove poly-bags manually and NOT use any sharp objects like cutter or scissor to cut the polythene bag.
Reason for not using cutter/scissor: Use of sharp objects may cut the arterial/main root section of the plant which may lead to plant mortality.
Steps of polythene tearing with hand-
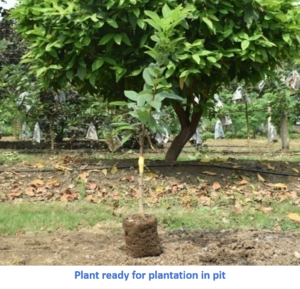
Plant ready for plantation in pit
Step #4: Placement of Plant in the Pit
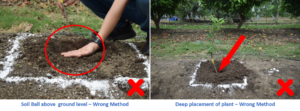
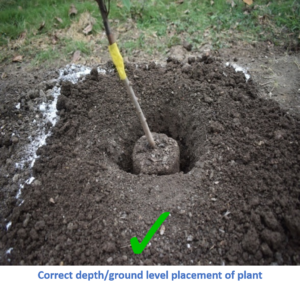
Depth of pit is an important factor during transplantation. The depth of pit need not be more than 10 to 12 inches or equal to height of poly bag. This means that, when you place the plant inside pit, its top most layer of soil needs to align with top most layer of ground soil.
Deep placement of plant inside pit is discouraged as it will provide an opportunity to scion for root development and emergence of such roots will ultimately lead to infection. Since, the use of root-stock is to safeguard the scion cultivar from various infections and soil borne diseases, therefore it’s recommended not to cover the complete root stock with the soil.
Step #5: Soil Filling
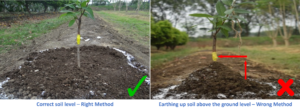
Fill soil around the cavity of pit evenly spread out. While earthing up, ensure that soil is not raised towards the stem of the plant and be kept only at ground level.
Step #6: Soil Leveling & Earthing up
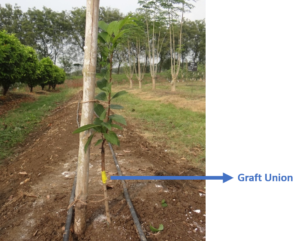
It’s strictly advisable not to earthen soil level on plants above ground level. Earthing up of soil will provide an opportunity to scion for root development and emergence of such roots will ultimately lead to infection. Since, the use of root-stock is to safeguard the scion cultivar from various infections and soil borne diseases, therefore it’s recommended not to cover the complete root stock with the soil. The level of the soil should be at least 4 -6 inches below the graft/bud union.
Many growers make raised beds after plantation or increase the soil level on existing beds. This is wrong practice hence, do not execute it.
Step #7: Watering
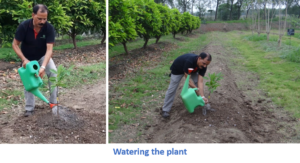
Post plantation it’s very important to water the plant. Light irrigation is recommended immediately after plantation.
Post Plantation

